As previously mentioned, a lot of my time and attention this year has been invested in converting a pre-fab garage into a quilting studio in our yard. Today we have the final progress report.
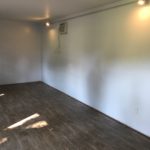
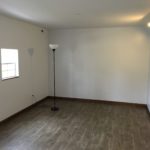
The pictures below show from flooring to finished and unpacked. Now it is ready for use!
The flooring is down, and track lighting is partially up.
Baseboards installed…
…on both ends.
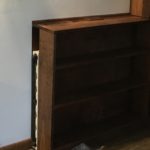
Second section designed and built. The storage for the folding table runs behind it along the wall.
Table in its place
First section of bookshelves go up.
And the final section of shelves is up, finishing out the corner.
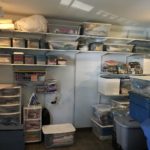
We installed brackets for storage shelving on the other end.
Using what shelves we already had made for an interesting arrangement.
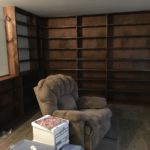
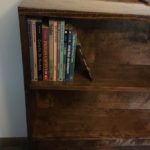
First handful of books to be unpacked and placed on the shelves in the library end
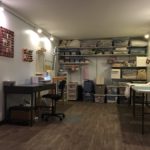
Everything in its place.
Ready for quilting!
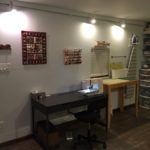
My worktable and cutting table
Additional work tables
Love this wire for hanging patterns or sample squares.
Looking back at the photos and standing in the studio itself, gratitude fills my heart. Much work was invested in this, and it is a thing of beauty (if I may say so…). May God use it to bless many in the coming years.
If you are curious about any aspect of this project, please comment below and I’d be happy to respond.
Lately my time and attention have been consumed largely by our efforts to convert a repo, pre-fab garage into a quilting studio in our yard. A wide variety of factors went into the decision to take this path to cover the existing needs, but today I’d just like to start sharing how the process is going. Perhaps you will be inspired for your own project — or just be able to rejoice with me when it is complete!
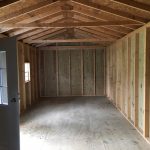
The pictures below show from delivery to walls-but-no-floor. The plan is to finish the majority of the unit into one large room, with a wall to close off the garage door end for a small storage space.
At delivery, this is the base.
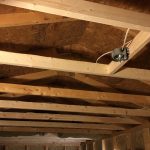
First, additional rafters were needed to install a sheetrock ceiling.
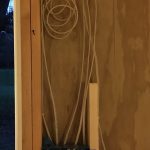
Wiring went all over the place!
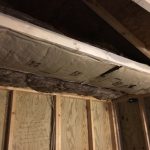
Then up went the insulation.
Sheetrock and mudding was by far the most demanding stage!
A simple wall closed off one end of the unit.
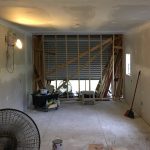
Insulation went in before wood paneling would be put up as backing for a wall of bookshelves.
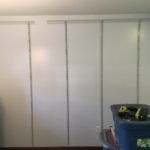
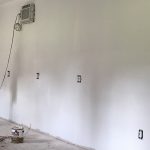
Primed
Painted. The color is very light so that the room feels bigger and doesn’t compete with the many fabrics that will be on display.
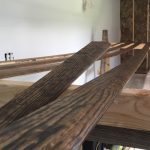
Baseboards were stained prior to laying the floor.
The labor is entirely amateur, and I am so thankful for good friends and past days volunteering with Habitat for Humanity! Some things take some skill, and volunteering gave me valuable knowledge and experience. Double bonus.
If you are curious about more detail on any aspect of this project, please comment below and I’d be happy to respond.
So…on we go. Work continues, and I’ll keep you posted!